To Save a View in VIZ, select View at the Top Menu Bar, the 6th Item from the Left. The drop-down Menu displays choices, depending upon which Viewport you are in, such as Top, Left, User, Perspective, and so on. Select Save Active (your current Viewport Name goes here). To Restore a View, select View in the Top Menu Bar. In the drop-down Menu, select Restore Active View (your current Viewport Name goes here). You can save only 1x Active View for each type of Viewport.
View Presets
Additionally, just below the Save and Restore Viewport there is another handy dandy item: View Presets. When you select View Presets, another Fly-Out Menu flies out. Here are some more View Options you can select from: Grid View; Top View; Bottom View; Left View; Right; Front View; Back View; and SW; SE; NE; NW. Please note you can use Keyboard Shortcuts to restore the Top, Bottom, Left, Right, Front and Back Views. Selecting the SW SE NE NW options restores Isometric Views. Use the letter P to restore a Perspective Viewport.
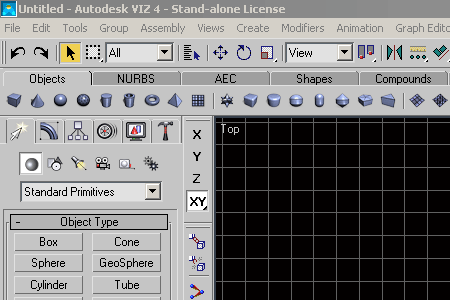
Figure 1: Views Menu
Start dragging your Mouse around
Use the Z key to turn on Zoom while in a Perspective or Orthographic Viewport. You can use the [ to Zoom In and ] to Zoom Out. Otherwise, click on the Zoom Icon to start the Zoom and drag the Mouse up to Zoom In. To Zoom Out, drag the Mouse down. To increase your Zoom speed, hold the CTRL key down while dragging the Mouse. To turn on automatic Zoom mode, hold down the CTRL+ALT keys and then drag in the Viewport while holding down the Middle Mouse button.
In the lower right corner of the VIZ screen there is a group of 8 Icons. In the Top row from left to right they are: Zoom; Zoom All; Zoom Extents; and Zoom Extents All. in the Bottom row from left to right they are: Region Zoom; Pan; Arc Rotate Selected; and Min/Max Toggle.
![]()
Figure 2: The Eight Icons
Please refer to the Autodesk VIZ 4 User Reference for additional In-depth Information.
"Zoom adjusts view magnification when you drag in a Perspective or Orthographic viewport. By default, the zoom is in and out of the center of the viewport."
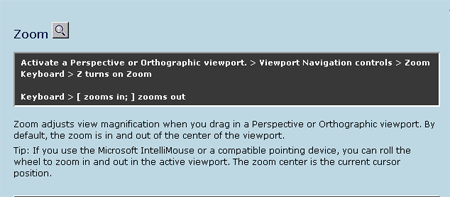
Figure 3: Zoom
"Zoom All lets you adjust view magnification in all Perspective and Orthographic viewports at the same time. By default, Zoom All zooms in and out of the center of the viewports. To zoom all views: Activate a Perspective or Orthographic viewport. Click Zoom All. The button turns green when it is on. Drag in a viewport to change magnification in all viewports. Drag up to increase magnification. Drag down to decrease magnification. Press ESC or right-click to turn off the button. To zoom all viewports except the Perspective viewport: Hold down the CTRL key and click Zoom All. Drag in a viewport to zoom all the viewports except the Perspective. Note: You can drag in a Perspective viewport, but you only see the zoom in Orthographic viewports."
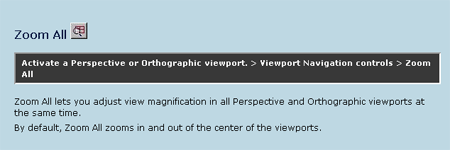
Figure 4: Zoom All
"Zoom Extents: Centers and magnifies views so all the visible objects in the scene are shown in a single viewport. Objects can be excluded from zoom extents all if the Ignore Extents box is turned on under Object Properties. Zoom Extents Selected: Centers and magnifies views so just the selected objects or sub-object selections in the scene are shown in a single viewport. If no objects are selected, the effect is the same as Zoom Extents."
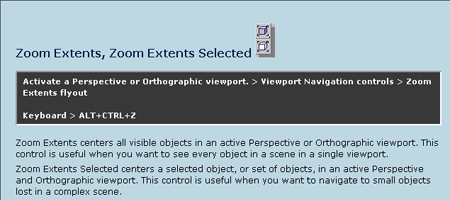
Figure 5: Zoom Extents, Zoom Extents Selected
"Zoom Extents All: Centers and magnifies views so all the visible objects in the scene are shown in all viewports. Zoom Extents All Selected: Centers and magnifies views so just the selected objects or subobject selections in the scene are shown in all viewports. If no objects are selected, the effect is the same as Zoom Extents All."
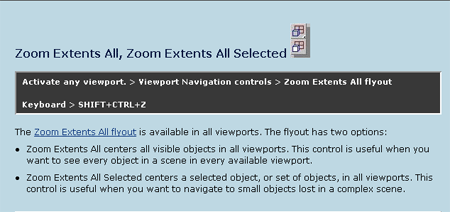
Figure 6: Zoom Extents All, Zoom Extents All Selected
"Zoom Region magnifies a rectangular area you drag within a viewport. This control is available only when the active viewport is an Orthographic, Perspective or User-Axonometric View. It is not available for Camera viewports. Zoom Region stays active until you right-click or select another command. Procedures: To zoom a region: Activate an Orthographic or Perspective viewport. Click Zoom Region or press CTRL+W. When you zoom a region in a perspective viewport, select Zoom Region from the Field of View flyout. Drag a rectangular region in any viewport displaying a non-camera view. When you release, the region is magnified to fill the viewport. Note: When using the Region Zoom in Perspective view, the zoom rectangle is at a fixed distance from the camera. For this reason, if you draw the rectangle large enough, you can zoom out from the scene."
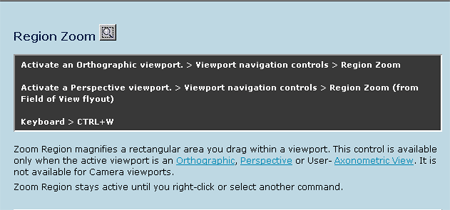
Figure 7: Region Zoom
"Click Pan and drag in a viewport to move your view parallel to the viewport plane. You can also pan a viewport by dragging with the middle mouse button held down while any tool is active."
Arc Rotate Selected - see Figure 8. Zoom Pan Rotate
"Click Arc Rotate/Arc Rotate on Selection/Arc Rotate Sub-Object to rotate your view around the view center, the selection, or the current sub-object selection respectively. When you rotate an orthogonal view, such as a Top view, it is converted to a User view. With Arc Rotate, if objects are near the edges of the viewport they may rotate out of view.
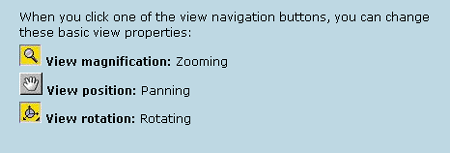
Figure 8: Zoom Pan Rotate
With Arc Rotate Selected, selected objects remain at the same position in the viewport while the view rotates around them. If no objects are selected, the function reverts to the standard Arc Rotate. With Arc Rotate Sub-Object, selected sub-objects or objects remain at the same position in the viewport while the view rotates around them. Note: You can rotate a view by holding down the ALT key while middle-button dragging in a viewport. This uses the current Arc Rotate mode, whether or not the button is active. You can also activate Arc Rotate by pressing CTRL+R."
"Min/Max Toggle switches any active viewport between its normal size and full-screen size. Tip: The keyboard shortcut W is especially useful for quick toggles."
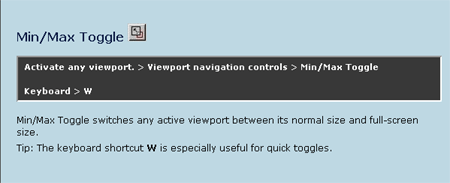
Figure 9: Min/Max Toggle
"The Strokes utility lets you launch commands by dragging left-button mouse patterns in a viewport. When you launch the Strokes utility, a modeless dialog appears containing a single Draw Strokes button. The Strokes system is also available as an option for the middle mouse button that doesn't require the utility or the modeless dialog. This option can be found under Tools menu > Options > Viewports. For details, see Strokes."
"Strokes are a way to assign command shortcuts to mouse (or tablet) stroke patterns. Strokes require a three-button mouse, or the equivalent in a digitizing tablet. If you don't have a three-button mouse, you can still use some strokes by using the Strokes utility. Important: Before you can use any stroke feature, you must specify the Stroke option for the middle mouse button in the Viewports panel of the Customize menu > Preferences dialog. See the following procedure, "To activate the Strokes feature."

Figure 10: Strokes
You can also assign keyboard shortcuts to frequently used commands, but strokes are convenient because they can select an object and apply a command to it. For example, you can assign Arc Rotate to a downward stroke. When you draw this stroke the software changes to Arc Rotate mode. You can assign a circular stroke to the Hide Selected command so that it both selects the objects and then hides all the objects in the bounding extents of the stroke pattern."
Using the Keyboard with Strokes
"The same stroke pattern can perform four different functions by holding the SHIFT, ALT, or SHIFT+ALT keys when drawing the stroke: Drawing a vertical line is one type of stroke. Holding SHIFT while drawing the same line is another type. Holding ALT while drawing it is a third type. Holding both SHIFT and ALT while drawing the line is a fourth type. Note: Changes you make to the set of strokes are saved with VIZ and persist from session to session."
If you find yourself needing to adjust the View on the Screen while you are working in VIZ, place the Mouse near the Edge of the Viewport and hit the I key. The screen refreshes the View to place the previous user-defined Mouse
The middle wheel of a Scroll Mouse may also be useful, depending on your Mouse type and Preference setting. You can scroll by using the middle button and Zoom in or out, or hold down the middle button and use this to Pan around the Viewport.